ARDUINO ROBOTAUTO
Ultrasonic sensor car
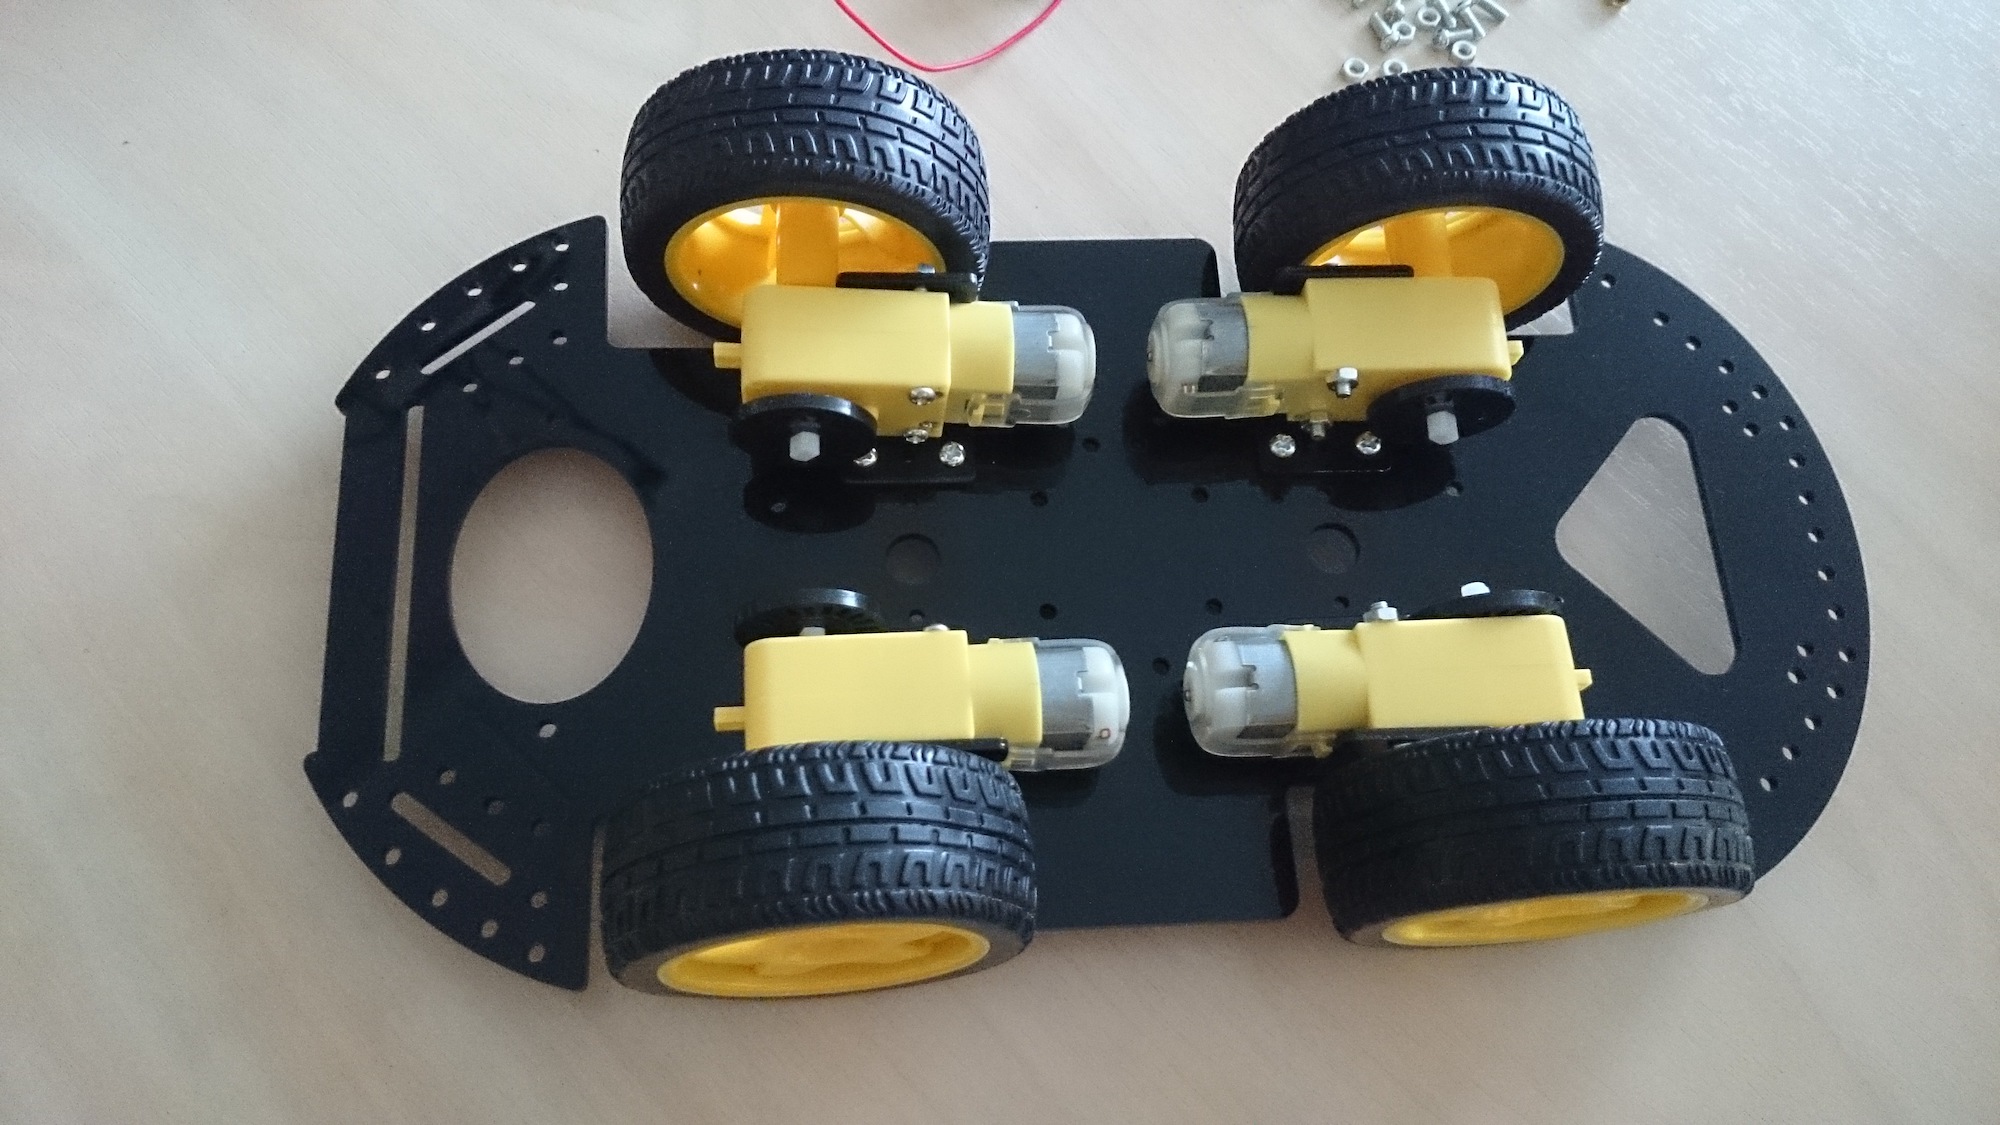
Meie uus robotauto hakkab valmima.


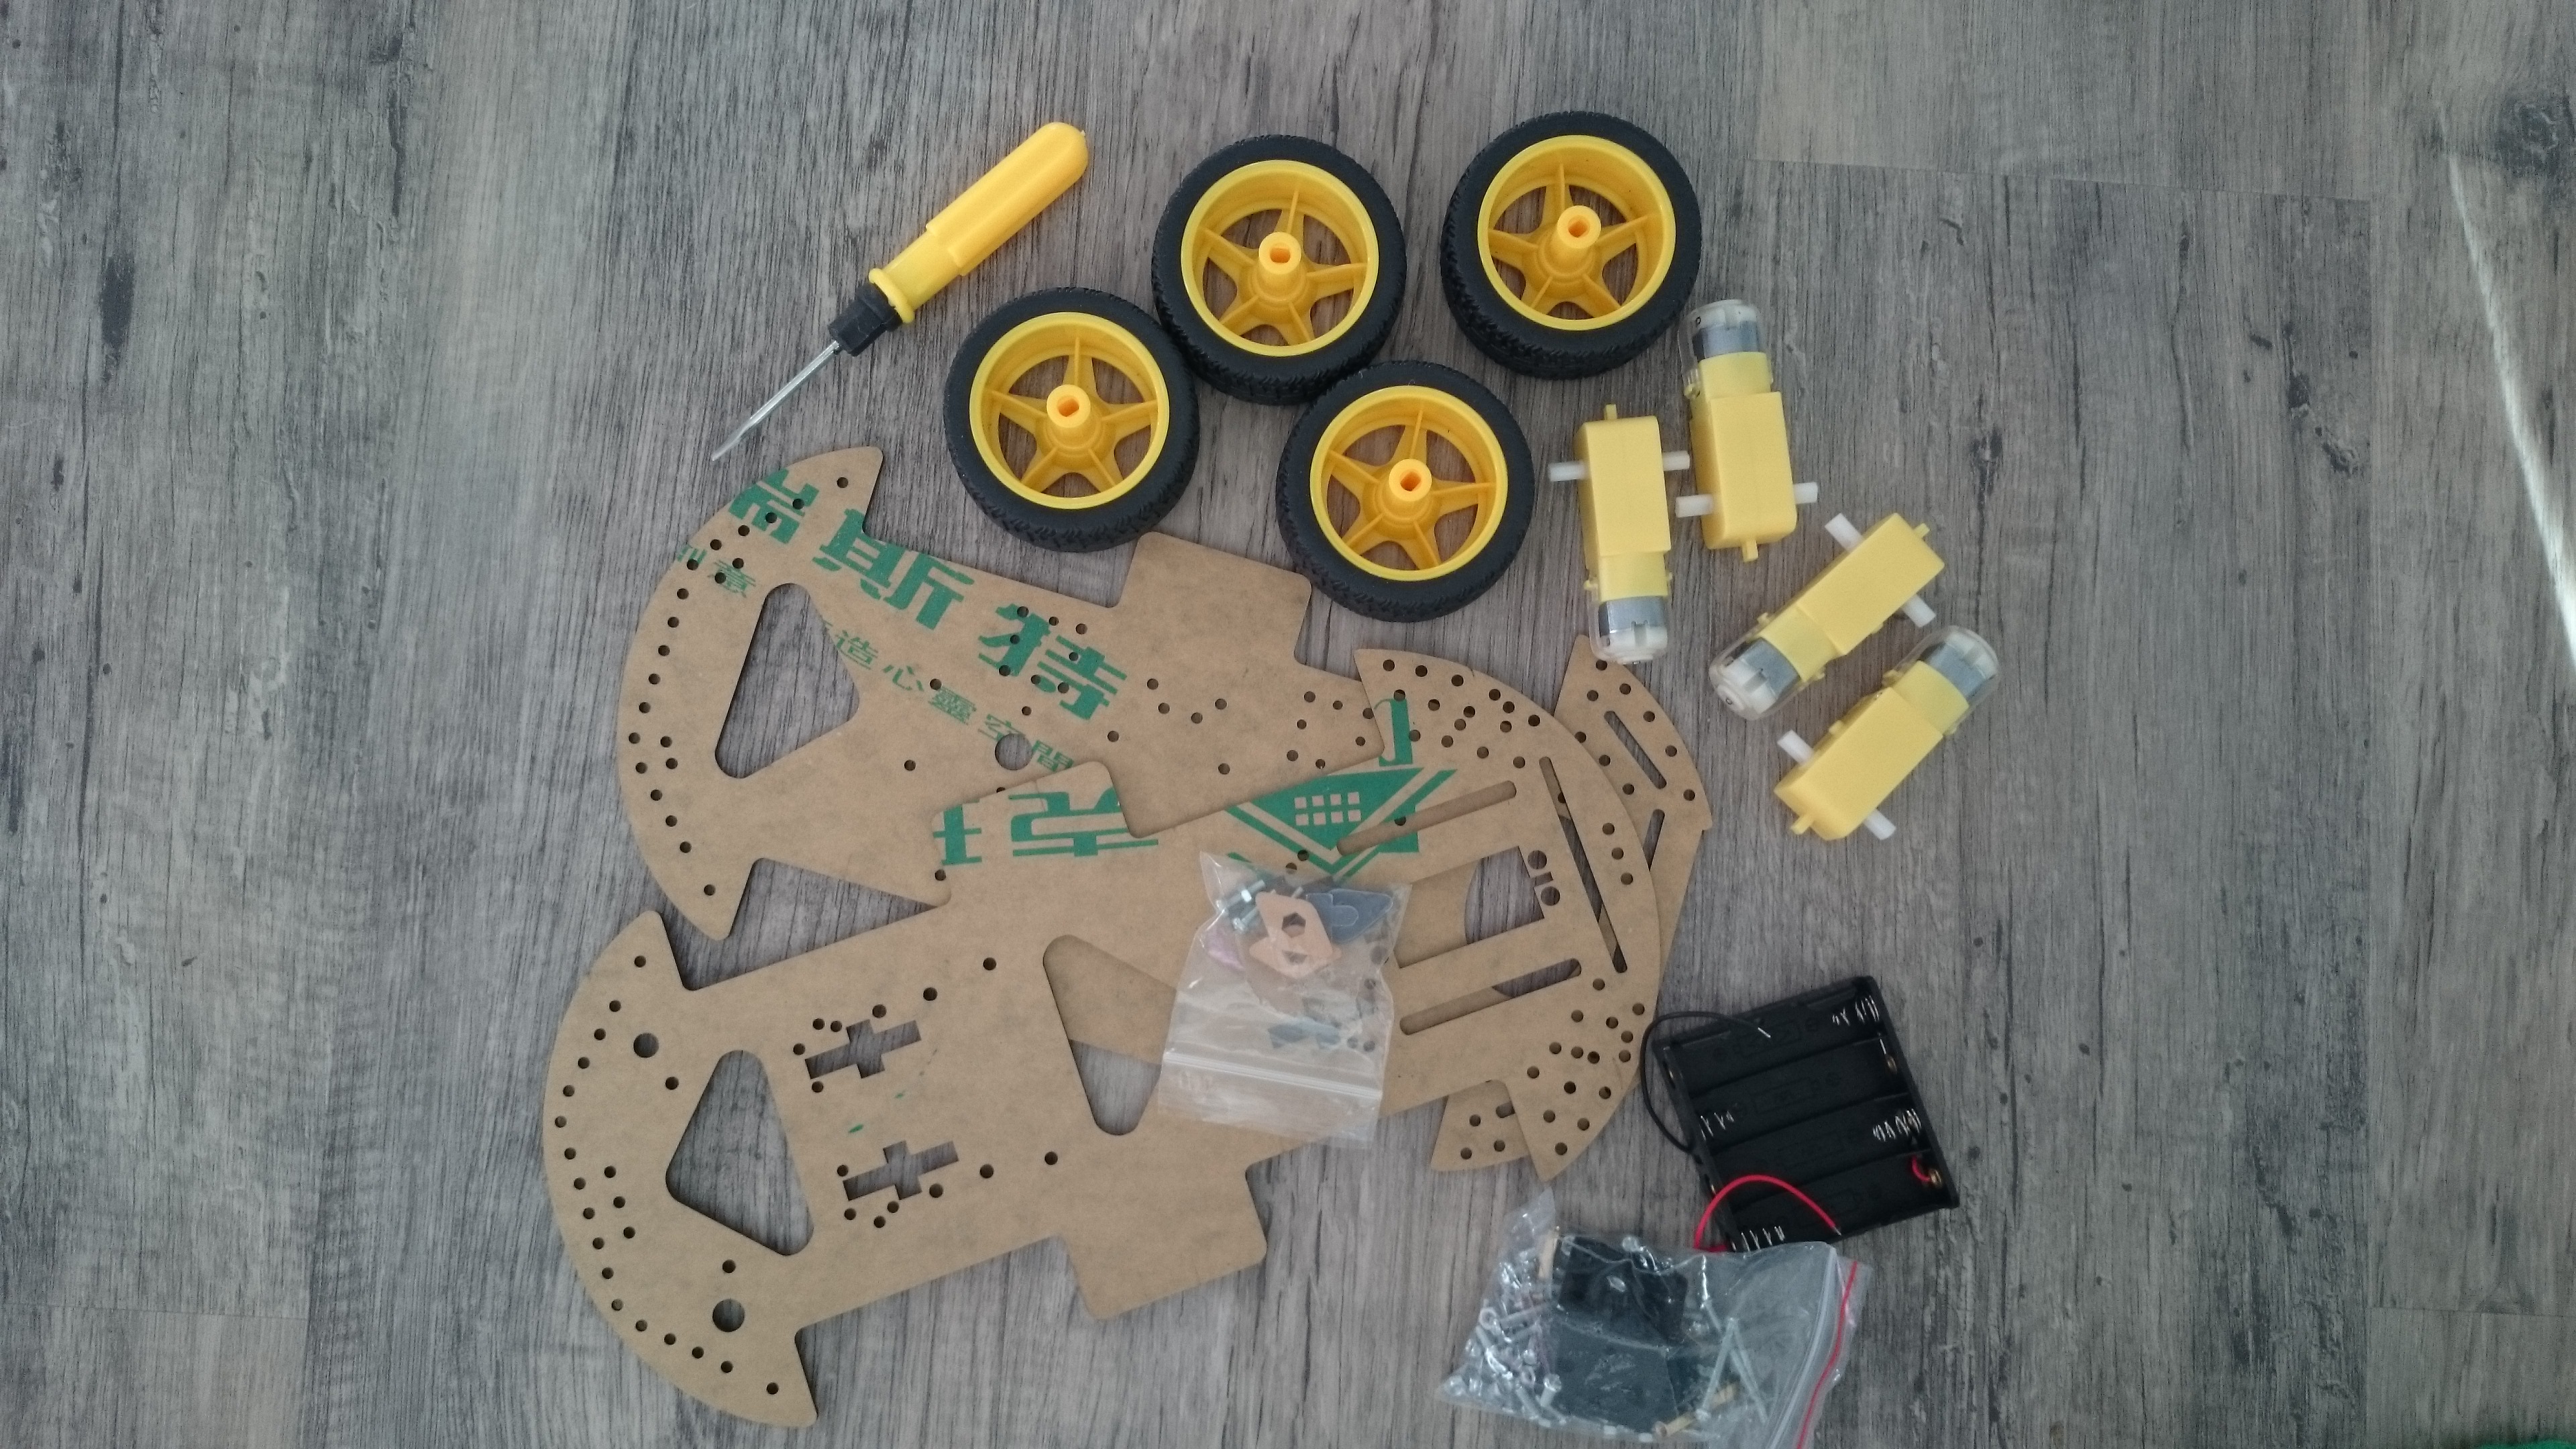
Robotauto ehitamine
http://www.makeuseof.com/tag/build-4wd-arduino-robot-beginners/
https://blog.miguelgrinberg.com/post/building-an-arduino-robot-part-i-hardware-components
Joone jälgimine
https://diyhacking.com/make-line-follower-robot/
http://www.circuitstoday.com/line-follower-robot-using-arduino
Takistuste vältimine
http://robotshop.com/letsmakerobots/obstacle-avoidance-robot-car-arduino
http://www.webondevices.com/arduino-robot-car-obstacle-avoidance
http://forum.arduino.cc/index.php?topic=165987.0
http://communityofrobots.com/tutorial/kawal/how-make-your-first-robot-using-arduino
Kood, kuidas robotauto juba eelnevalt programmeeritud suundades liigub.
// Motor A pins (enableA = enable motor, pinA1 = forward, pinA2 = backward)
int enableA = 5; //11;
int pinA1 = 8; // 6;
int pinA2 = 7; //5;
//Motor B pins (enabledB = enable motor, pinB2 = forward, pinB2 = backward)
int enableB = 10;
int pinB1 = 4; //4;
int pinB2 = 2; //3;
//This lets you run the loop a single time for testing
boolean run = true;
void setup() {
pinMode(enableA, OUTPUT);
pinMode(pinA1, OUTPUT);
pinMode(pinA2, OUTPUT);
pinMode(enableB, OUTPUT);
pinMode(pinB1, OUTPUT);
pinMode(pinB2, OUTPUT);
}
void loop() {
delay(5000);
if (run) {
delay(2000);
enableMotors();
//Go forward
forward(1000);
//Go backward
backward(1000);
//Turn left
turnLeft(2000);
coast(200);
//Turn right
turnRight(2000);
coast(200);
//This stops the loop
run = false;
}
}
//Define high-level H-bridge commands
void enableMotors()
{
motorAOn();
motorBOn();
}
void disableMotors()
{
motorAOff();
motorBOff();
}
void forward(int time)
{
motorAForward();
motorBForward();
delay(time);
}
void backward(int time)
{
motorABackward();
motorBBackward();
delay(time);
}
void turnLeft(int time)
{
motorABackward();
motorBForward();
delay(time);
}
void turnRight(int time)
{
motorAForward();
motorBBackward();
delay(time);
}
void coast(int time)
{
motorACoast();
motorBCoast();
delay(time);
}
void brake(int time)
{
motorABrake();
motorBBrake();
delay(time);
}
//Define low-level H-bridge commands
//enable motors
void motorAOn()
{
digitalWrite(enableA, HIGH);
}
void motorBOn()
{
digitalWrite(enableB, HIGH);
}
//disable motors
void motorAOff()
{
digitalWrite(enableB, LOW);
}
void motorBOff()
{
digitalWrite(enableA, LOW);
}
//motor A controls
void motorAForward()
{
digitalWrite(pinA1, HIGH);
digitalWrite(pinA2, LOW);
}
void motorABackward()
{
digitalWrite(pinA1, LOW);
digitalWrite(pinA2, HIGH);
}
//motor B controls
void motorBForward()
{
digitalWrite(pinB1, HIGH);
digitalWrite(pinB2, LOW);
}
void motorBBackward()
{
digitalWrite(pinB1, LOW);
digitalWrite(pinB2, HIGH);
}
//coasting and braking
void motorACoast()
{
digitalWrite(pinA1, LOW);
digitalWrite(pinA2, LOW);
}
void motorABrake()
{
digitalWrite(pinA1, HIGH);
digitalWrite(pinA2, HIGH);
}
void motorBCoast()
{
digitalWrite(pinB1, LOW);
digitalWrite(pinB2, LOW);
}
void motorBBrake()
{
digitalWrite(pinB1, HIGH);
digitalWrite(pinB2, HIGH);
}
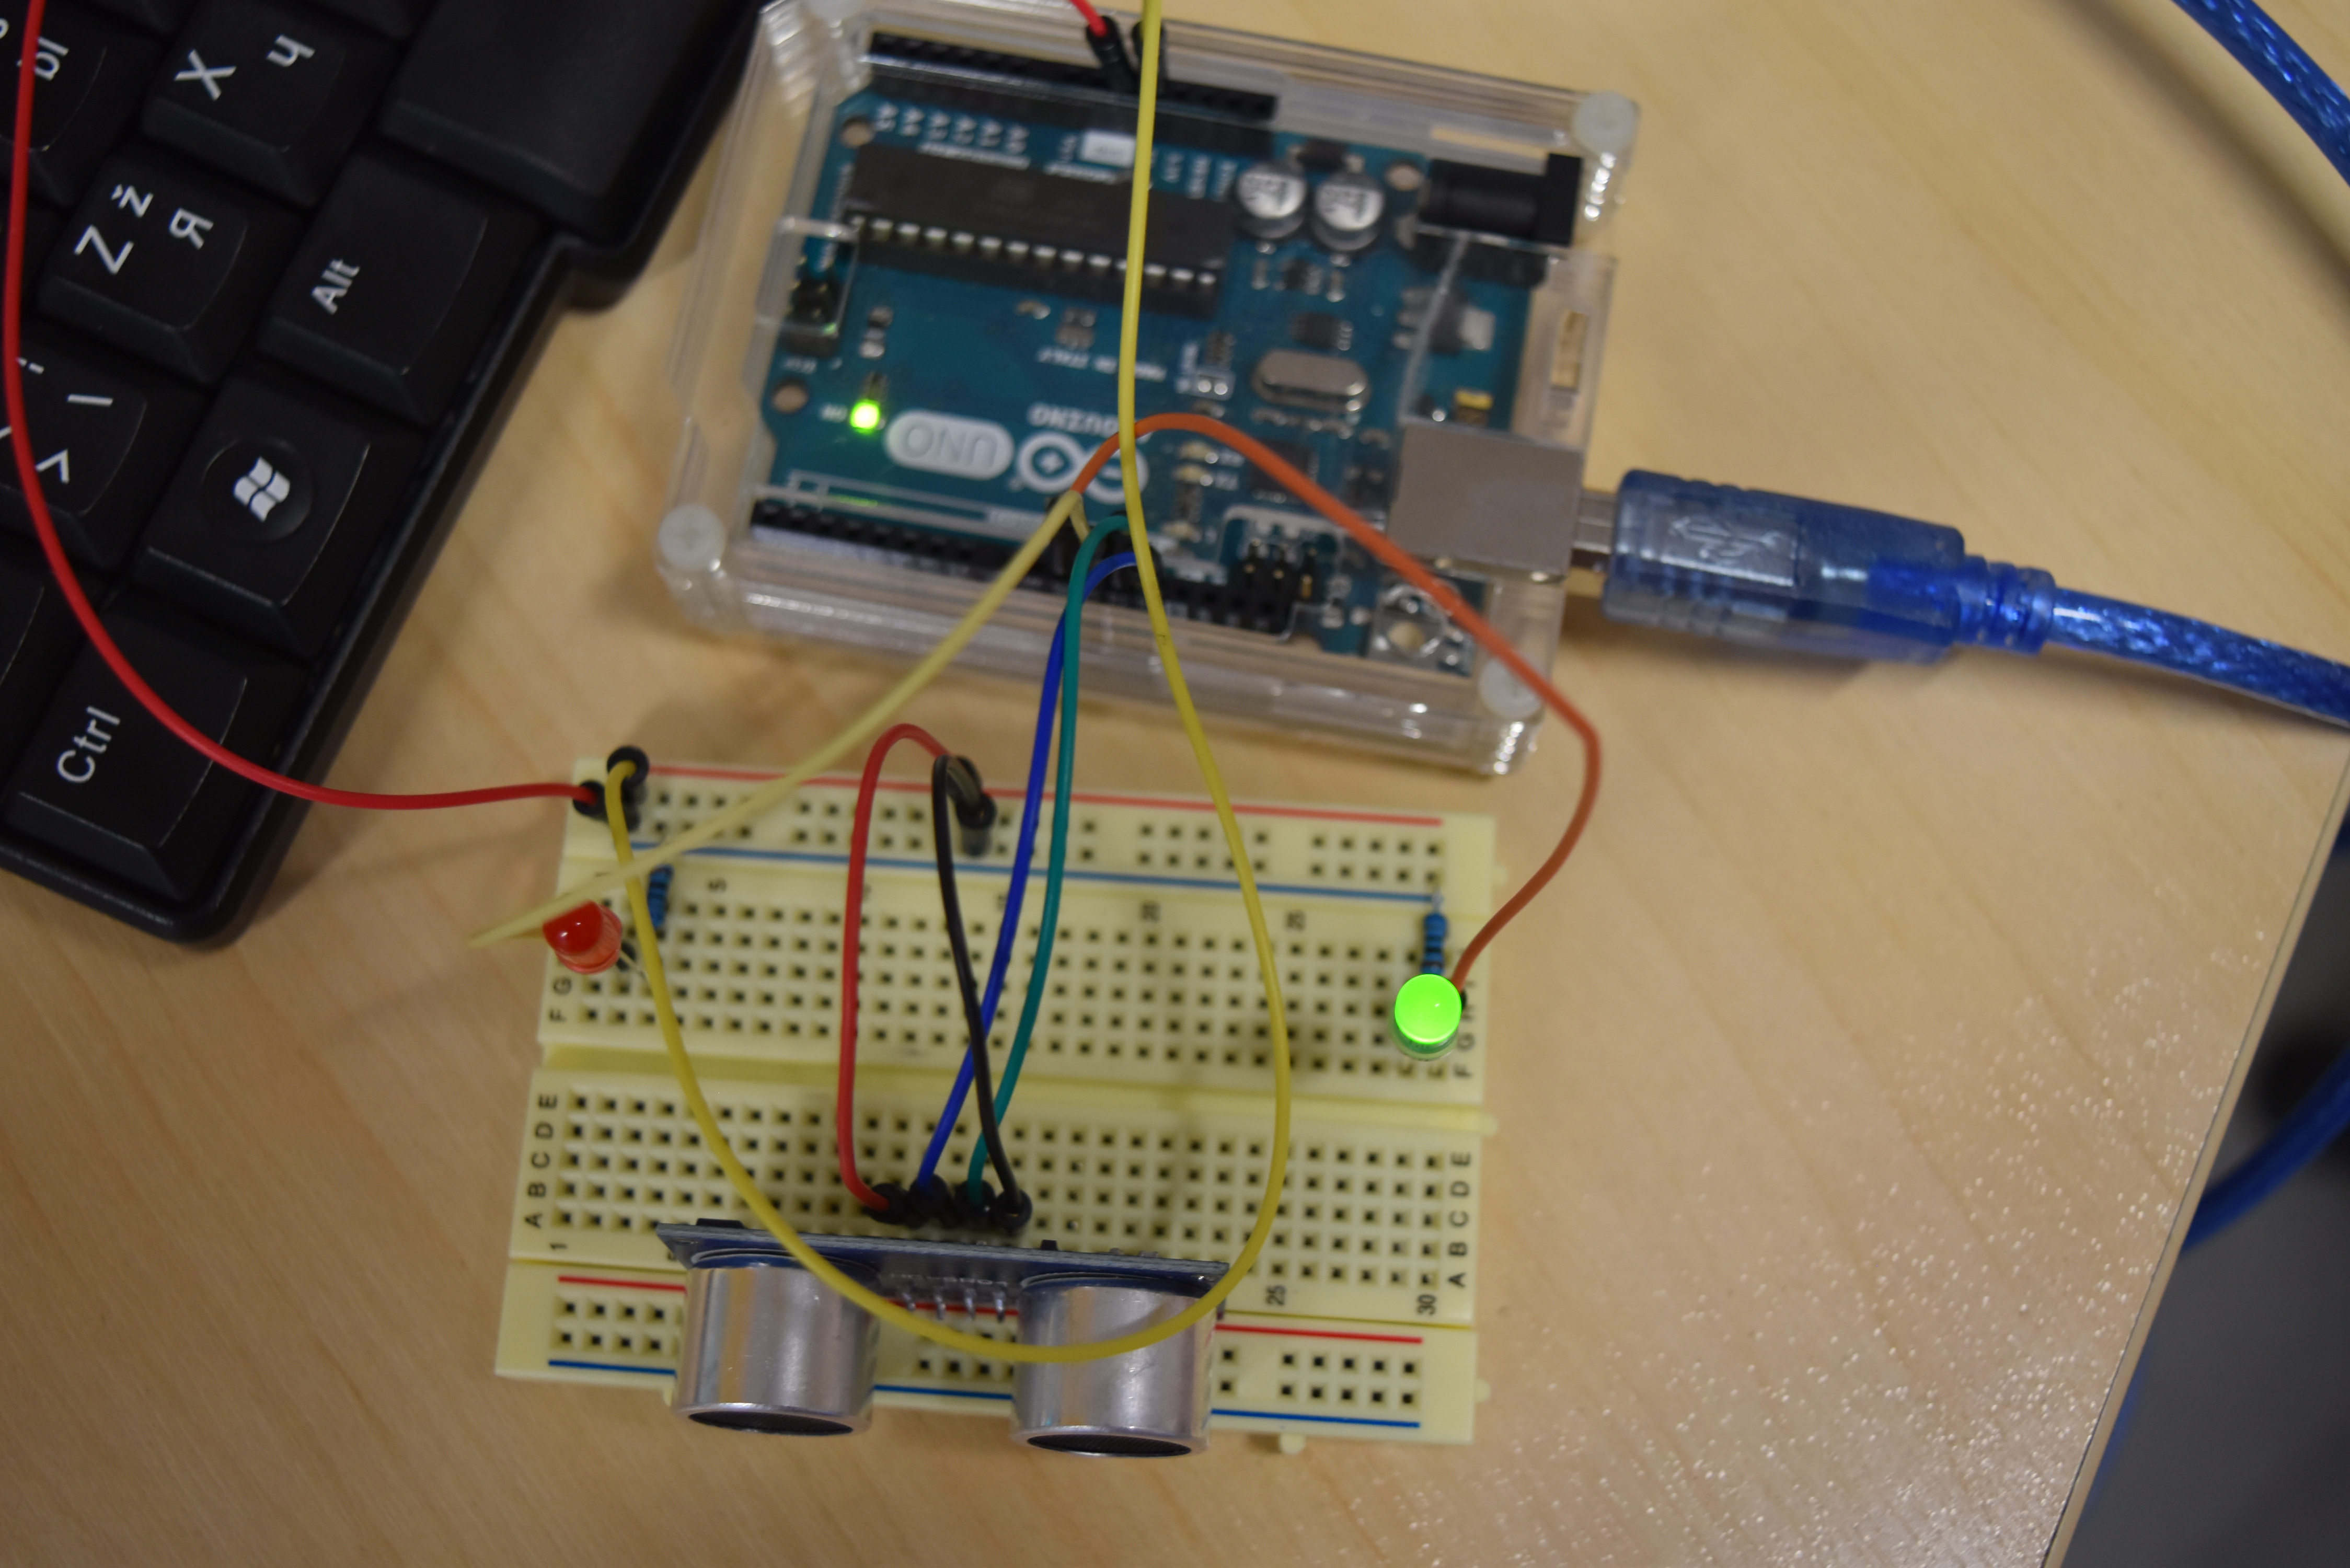
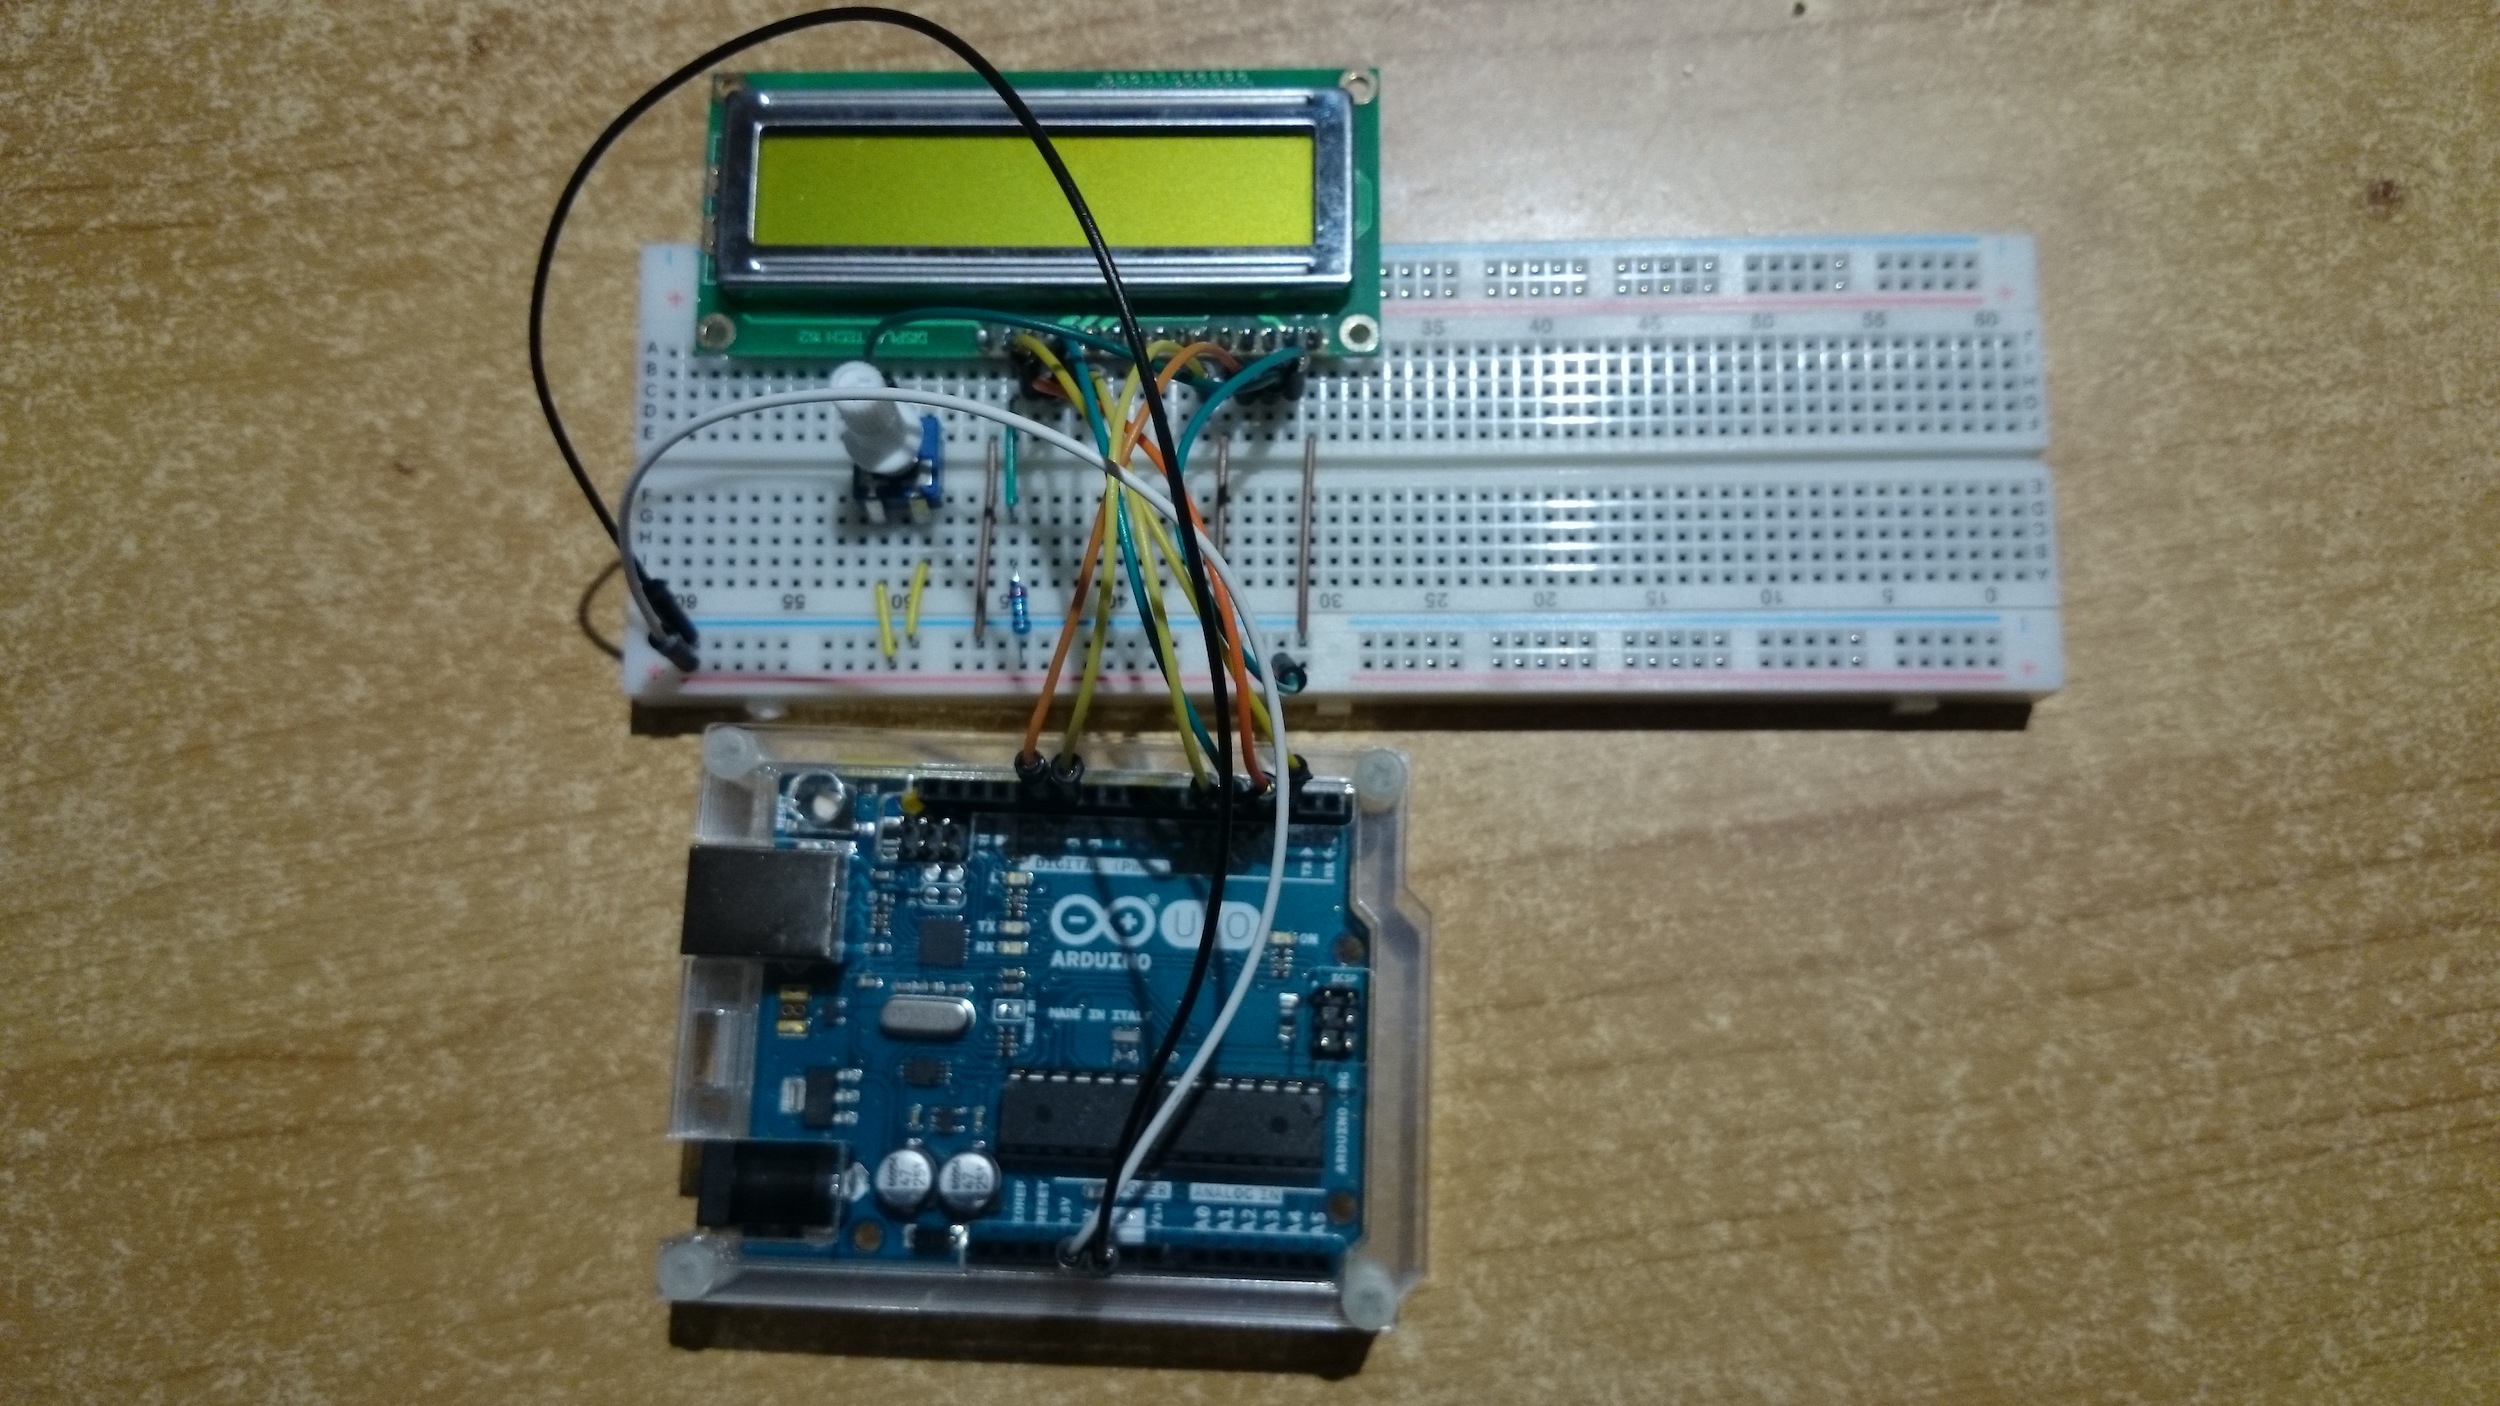
Kood, kuidas robotauto kaugusandurit testida
Selleks on vaja allalaadida teek (library), kus on vajalikud protseduurid kirjas. Selleks on NewPing.h.
https://bitbucket.org/teckel12/arduino-new-ping/downloads/
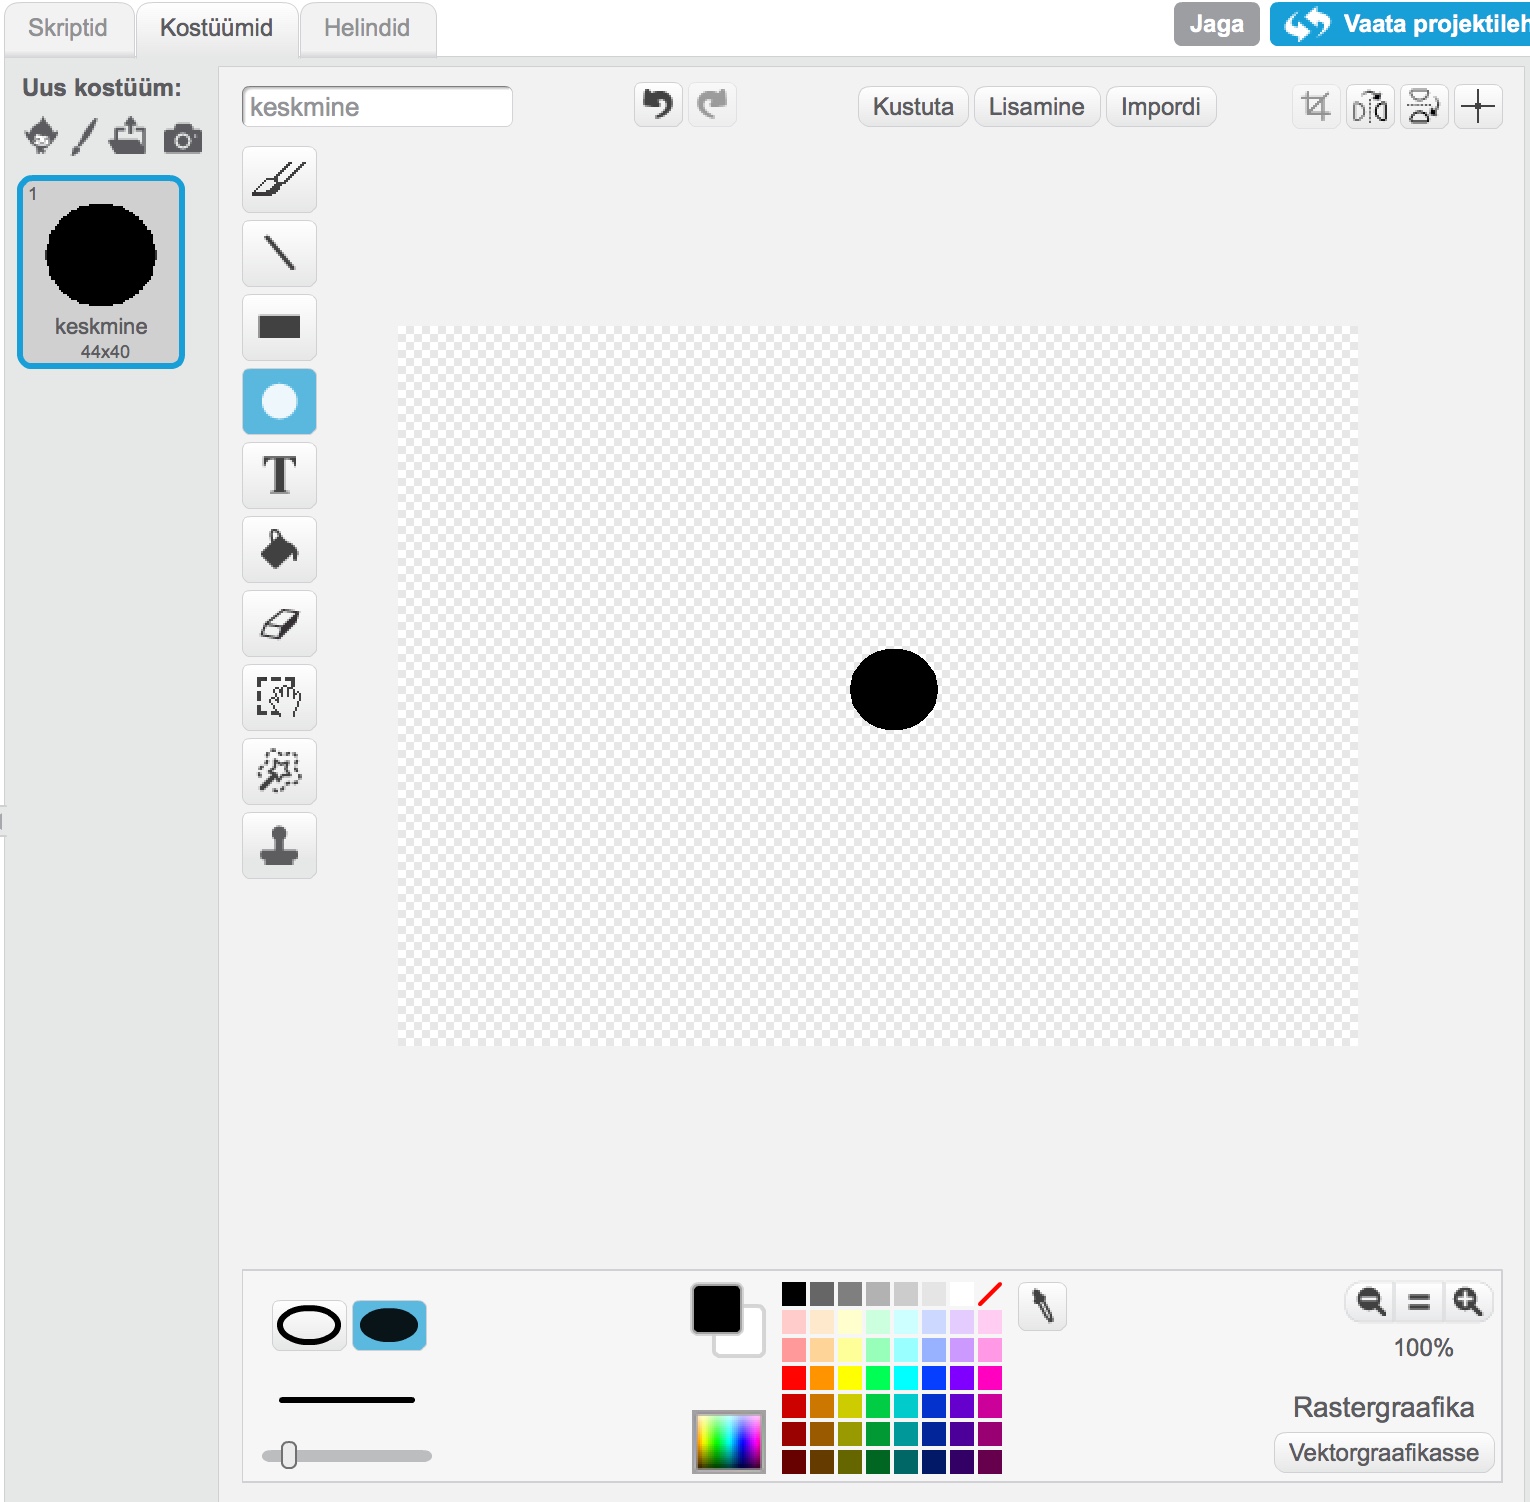
Allalaetud ZIP fail lisada Arduino stuudiosse:
Sketch -> Include Library -> Add .ZIP Library
#include <NewPing.h>
//Tell the Arduino where the sensor is hooked up
NewPing sonar(12, 13);
long inches;
void setup() {
//Activate the serial monitor so you can see the output of the sensor
Serial.begin(9600);
}
void loop() {
delay(50);
//Ping the sensor to determine distance in inches
inches = sonar.ping_in();
//Print the distance in inches to the serial monitor
Serial.print(inches);
Serial.print(” in.”);
Serial.print(“\n”);
}
Kood, kuidas robotauto väldib takistusi ja pöörab siis otsa ümber.
#include <NewPing.h>
//Tell the Arduino where the sensor is hooked up
NewPing sonar(12, 13);
int enableA = 11;
int pinA1 = 6;
int pinA2 = 5;
int enableB = 10;
int pinB1 = 4;
int pinB2 = 3;
long inches;
void setup() {
pinMode(enableA, OUTPUT);
pinMode(pinA1, OUTPUT);
pinMode(pinA2, OUTPUT);
pinMode(enableB, OUTPUT);
pinMode(pinB1, OUTPUT);
pinMode(pinB2, OUTPUT);
}
void loop() {
//Run the motors at slightly less than full power
analogWrite(enableA, 200);
analogWrite(enableB, 200);
//Ping the sensor and determine the distance in inches
inches = sonar.ping_in();
//If the robot detects an obstacle less than four inches away, it will back up, then turn left; if no obstacle is detected, it will go forward
if (inches < 4) {
analogWrite(enableA, 255);
analogWrite(enableB, 255);
backward(600);
coast(200);
turnLeft(600);
coast(200);}
else {
forward(1);
}
}
//Define high-level H-bridge commands
void enableMotors()
{
motorAOn();
motorBOn();
}
void disableMotors()
{
motorAOff();
motorBOff();
}
void forward(int time)
{
motorAForward();
motorBForward();
delay(time);
}
void backward(int time)
{
motorABackward();
motorBBackward();
delay(time);
}
void turnLeft(int time)
{
motorABackward();
motorBForward();
delay(time);
}
void turnRight(int time)
{
motorAForward();
motorBBackward();
delay(time);
}
void coast(int time)
{
motorACoast();
motorBCoast();
delay(time);
}
void brake(int time)
{
motorABrake();
motorBBrake();
delay(time);
}
//Define low-level H-bridge commands
//enable motors
void motorAOn()
{
digitalWrite(enableA, HIGH);
}
void motorBOn()
{
digitalWrite(enableB, HIGH);
}
//disable motors
void motorAOff()
{
digitalWrite(enableB, LOW);
}
void motorBOff()
{
digitalWrite(enableA, LOW);
}
//motor A controls
void motorAForward()
{
digitalWrite(pinA1, HIGH);
digitalWrite(pinA2, LOW);
}
void motorABackward()
{
digitalWrite(pinA1, LOW);
digitalWrite(pinA2, HIGH);
}
//motor B controls
void motorBForward()
{
digitalWrite(pinB1, HIGH);
digitalWrite(pinB2, LOW);
}
void motorBBackward()
{
digitalWrite(pinB1, LOW);
digitalWrite(pinB2, HIGH);
}
//coasting and braking
void motorACoast()
{
digitalWrite(pinA1, LOW);
digitalWrite(pinA2, LOW);
}
void motorABrake()
{
digitalWrite(pinA1, HIGH);
digitalWrite(pinA2, HIGH);
}
void motorBCoast()
{
digitalWrite(pinB1, LOW);
digitalWrite(pinB2, LOW);
}
void motorBBrake()
{
digitalWrite(pinB1, HIGH);
digitalWrite(pinB2, HIGH);
}